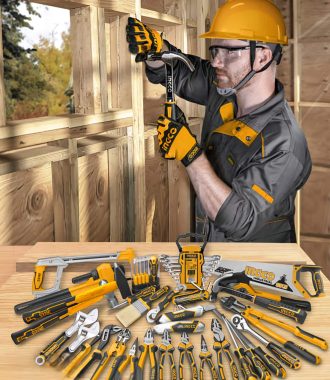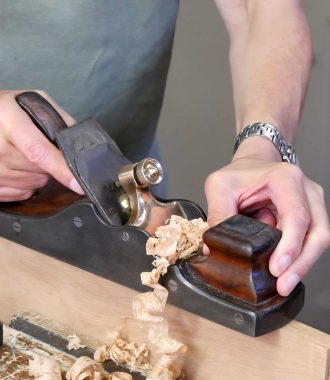






If you’ve been woodworking for a while, you’ve probably gathered more hand tools than you expected — chisels, screwdrivers, planes, and marking gauges soon start to take over the bench. Before long, you’re hunting for that one chisel under a pile of clamps. That’s when you realise it’s time for a tool rack.
A good rack keeps your tools tidy, easy to reach, and off the work surface. It’s a small project that makes a big difference. Here’s how to build a simple wall-mounted rack that works in almost any workshop.
What You’ll Need
A length of 1×4 or 1×6 timber (about 90cm long)
A few offcuts for dividers or supports
Screws and wall plugs
Drill and bits
Saw
Sandpaper
Finish or oil (optional)
Step 1: Plan the Layout
Lay out your tools on the bench in the order you usually use them. This helps you decide how much space each one needs and where it should go on the rack.
Step 2: Cut and Drill
Cut your timber to length. Drill holes or cut slots for each tool — chisels fit nicely into slots, while screwdrivers sit well in drilled holes. You can add a thin strip along the bottom edge to stop tools sliding off.
Step 3: Mount the Rack
Find the wall studs or use strong wall plugs if you’re fixing to plasterboard. Screw the rack firmly to the wall above your bench, roughly at eye level. You want your most-used tools within easy reach.
Step 4: Sand and Finish (Optional)
Give the rack a quick sand to remove rough edges. If you like, brush on a light coat of oil or varnish to protect the surface and make it easier to clean.
Why It’s Worth It
This simple project takes only an hour or two, but it makes your workspace much more organised. You’ll spend less time searching for tools and more time actually building. Plus, you can easily add to it as your tool collection grows.